Chrome starts Windows Installer. Why?
Chrome starts Windows Installer, but why? There are a lot of users who are trying to find a solution of this problem. The main reason of this issue is Cumulative update for Windows 10 1803 for x64-based Systems (KB4284385). Most of users with this problems have reported that Windows Installer window started to appear right after the Update. The biggest problem of this error is that a user can’t gain access to Google Chrome, because after few seconds of browsing Windows Installer window will pop-up, and there is nothing to do about it, the only way to close this window is to close whole Google Chrome.

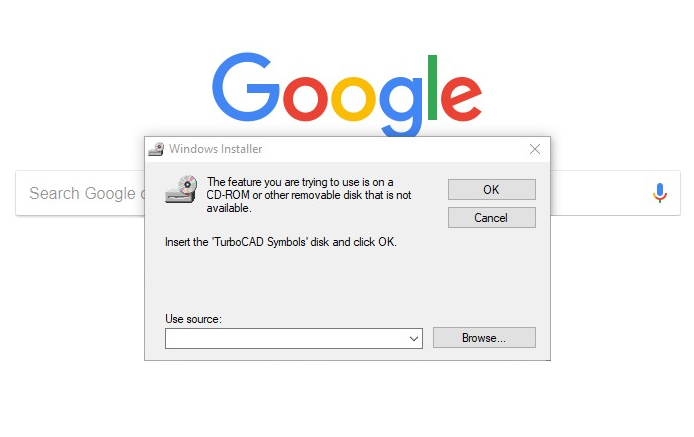
Here is the message from Windows Installer window:
The feature you are trying to use is on a CD-Rom or other removable disk that is not avaliable. Insert the ‘TurboCad Symbols’ disk and click ok.

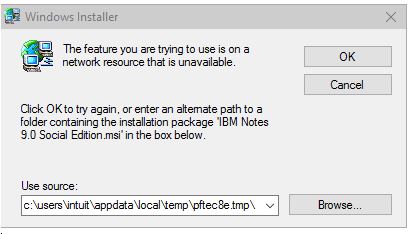
You may also face this kind of messages too:
The feature you are trying to use is on network resource that is unavailable. Click OK to try again, or enter an alternate path to a folder containing the installation package ‘IBM Notes 9.0 Social Edition.msi’ in the box below.
It appears that in order to use your Google Chrome browser, you need to solve this issue. In this guide you may find some helpful methods, that has solved the problem for other users. In case you don’t want to fix the error manually, or this methods are not working for you, you may use automatic fix tool.
Fast automatic solution

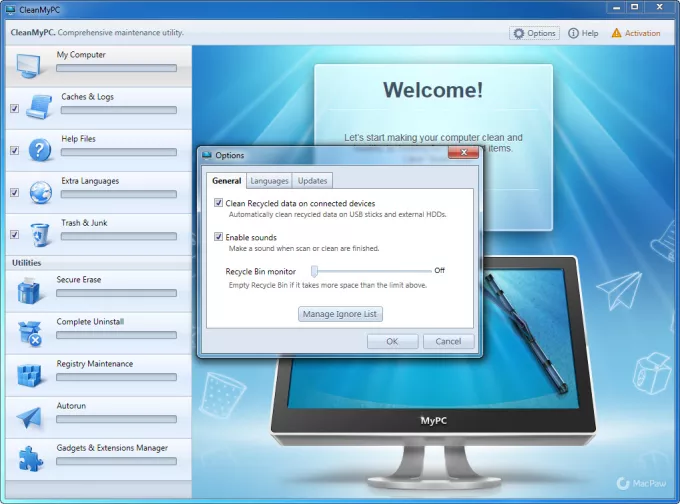
CleanMyPC has wide range of solutions to most of the system problems. Install it and run the scan, it will find and fix system issues.
Or find a solution in one of these manual removal methods.
Delete Google directories
- Export your bookmarks
- Uninstall Google Chrome
- Delete all the directories under -> users\username\appdata\local\google
- Reinstall Google Chrome
- Import your old bookmarks
- Reboot your PC
Search for the offending protocol
- Close Google Chrome. Check your taskbar and close the Google Chrome helper too
- In your Windows 10 taskbar, navigate to %LOCALAPPDATA%\Google\Chrome\User Data and open the Explorer window
- In your Explorer, choose View and search for the Hidden Files box in order to reveal more files
- Open the Preferences file. You may do it with a text editor, for example Notepad. In other case, you may use an application such as Microsoft’s Visual Studio Code
- Look for the line excluded_schemes, which contains your list of protocol handler preferences in the text file
- Look for the offending protocol (for instance, itmss for iTunes, or slack for Slack) and change its state from true to false
- Save the file, and re-open Google Chrome
Run System File Checker
- Press Windows key + X key
- Click Command Prompt (Admin)
- Type sfc /scannow and hit Enter
- Wait until the process completes
If some defective files have been detected but could not be restored, type dism /Online /Cleanup-Image /RestoreHealth and press Enter (this step requires an active Internet connection to access Microsoft servers)
Wait for the procedure to finish and repeat step 3 - Exit Command prompt, reboot the PC
Restore the system to an earlier time
System restore provides you with the means of rolling your system back to one of the previously saved restore points. Provided that you have this tool enabled, which is always a good idea. In that case restore points are automatically created before any change in the system, such as software upgrades, is made. After using System Restore installed programs and system settings will revert to the state they were in on a saved point in time; user files won’t be affected.
- Press Windows key + X key, then click Control Panel
- Select Recovery => Open System Restore
- In System Protection tab click System Restore… and then follow the program’s directions
We hope this guide was helpful to you. Feel free to leave a comment and tell us what methods were (or weren’t) effective in your case.

